Setting up Laravel 8 with Vue.js and Tailwind css

Entrepreneurial Developer
This article assumes you already have the environment setup for running and installing Laravel & Vue.js
Laravel Installation
We will be using Laravel Installer to create a new project of the latest Laravel version.
Before running the below command make sure you
cdto the directory you want to create your project in
laravel new project-name
Once installed you will need to run your project using a php server. I use Laravel Valet. It is easy to setup and use.
If you want a detailed installation guide head over to the documentation
In brief instructions: Install
composer global require laravel/valet

valet install
Park: is used to tell valet which folder contains all projects you want to serve. By doing so, all folders in this directory will be served on project-directory.test in the browser
cd ~/Sites

valet park
Valet will automatically start its daemon each time your machine boots. There is no need to run valet start or valet install ever again once the initial Valet installation is complete.
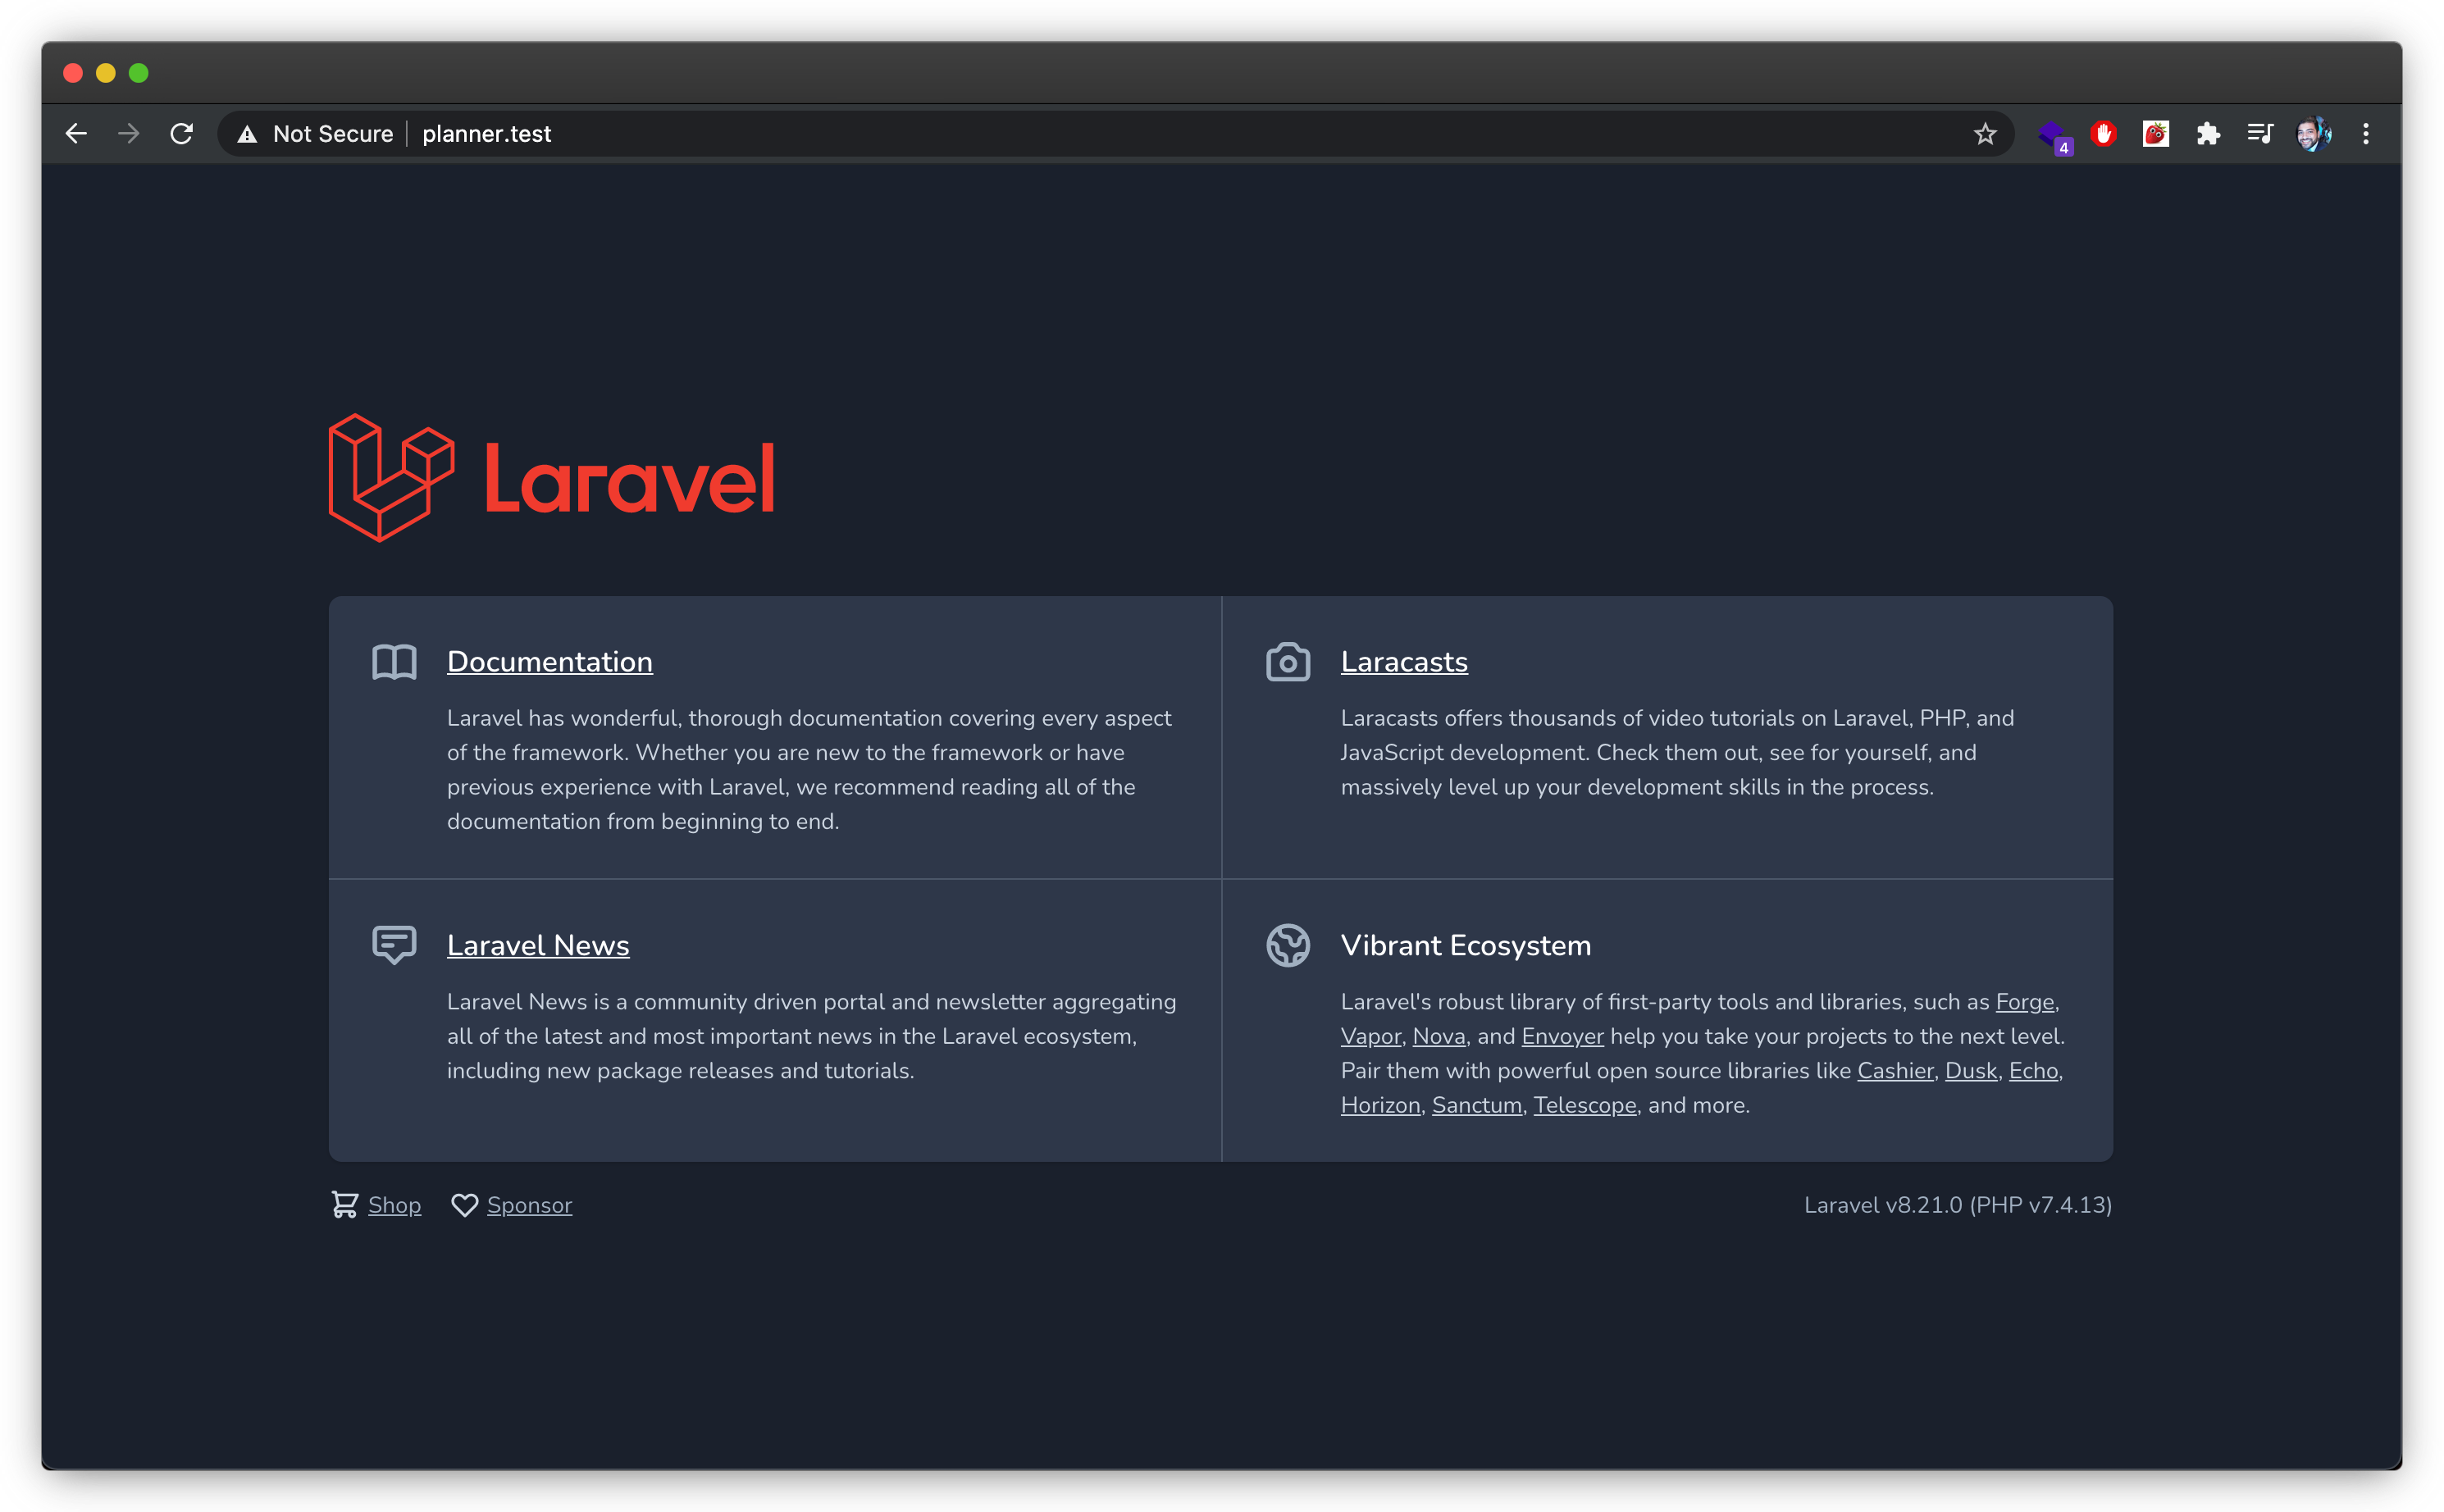
After opening project-directory.test in the browser you will see the default Laravel welcome page.
Vue.js Installation
We will be using Vue Cli to install and create a boilerplate vue project. Its easy to install and gives you a few config options when creating vue projects. Head over to the documentation for installation instructions.
After installing it, cd int your project directory and run:
vue ui
When the command runs successfully you will have a browser tab open with a visual interface. Head on to the Create Tab and select the following destination project-directory/resources 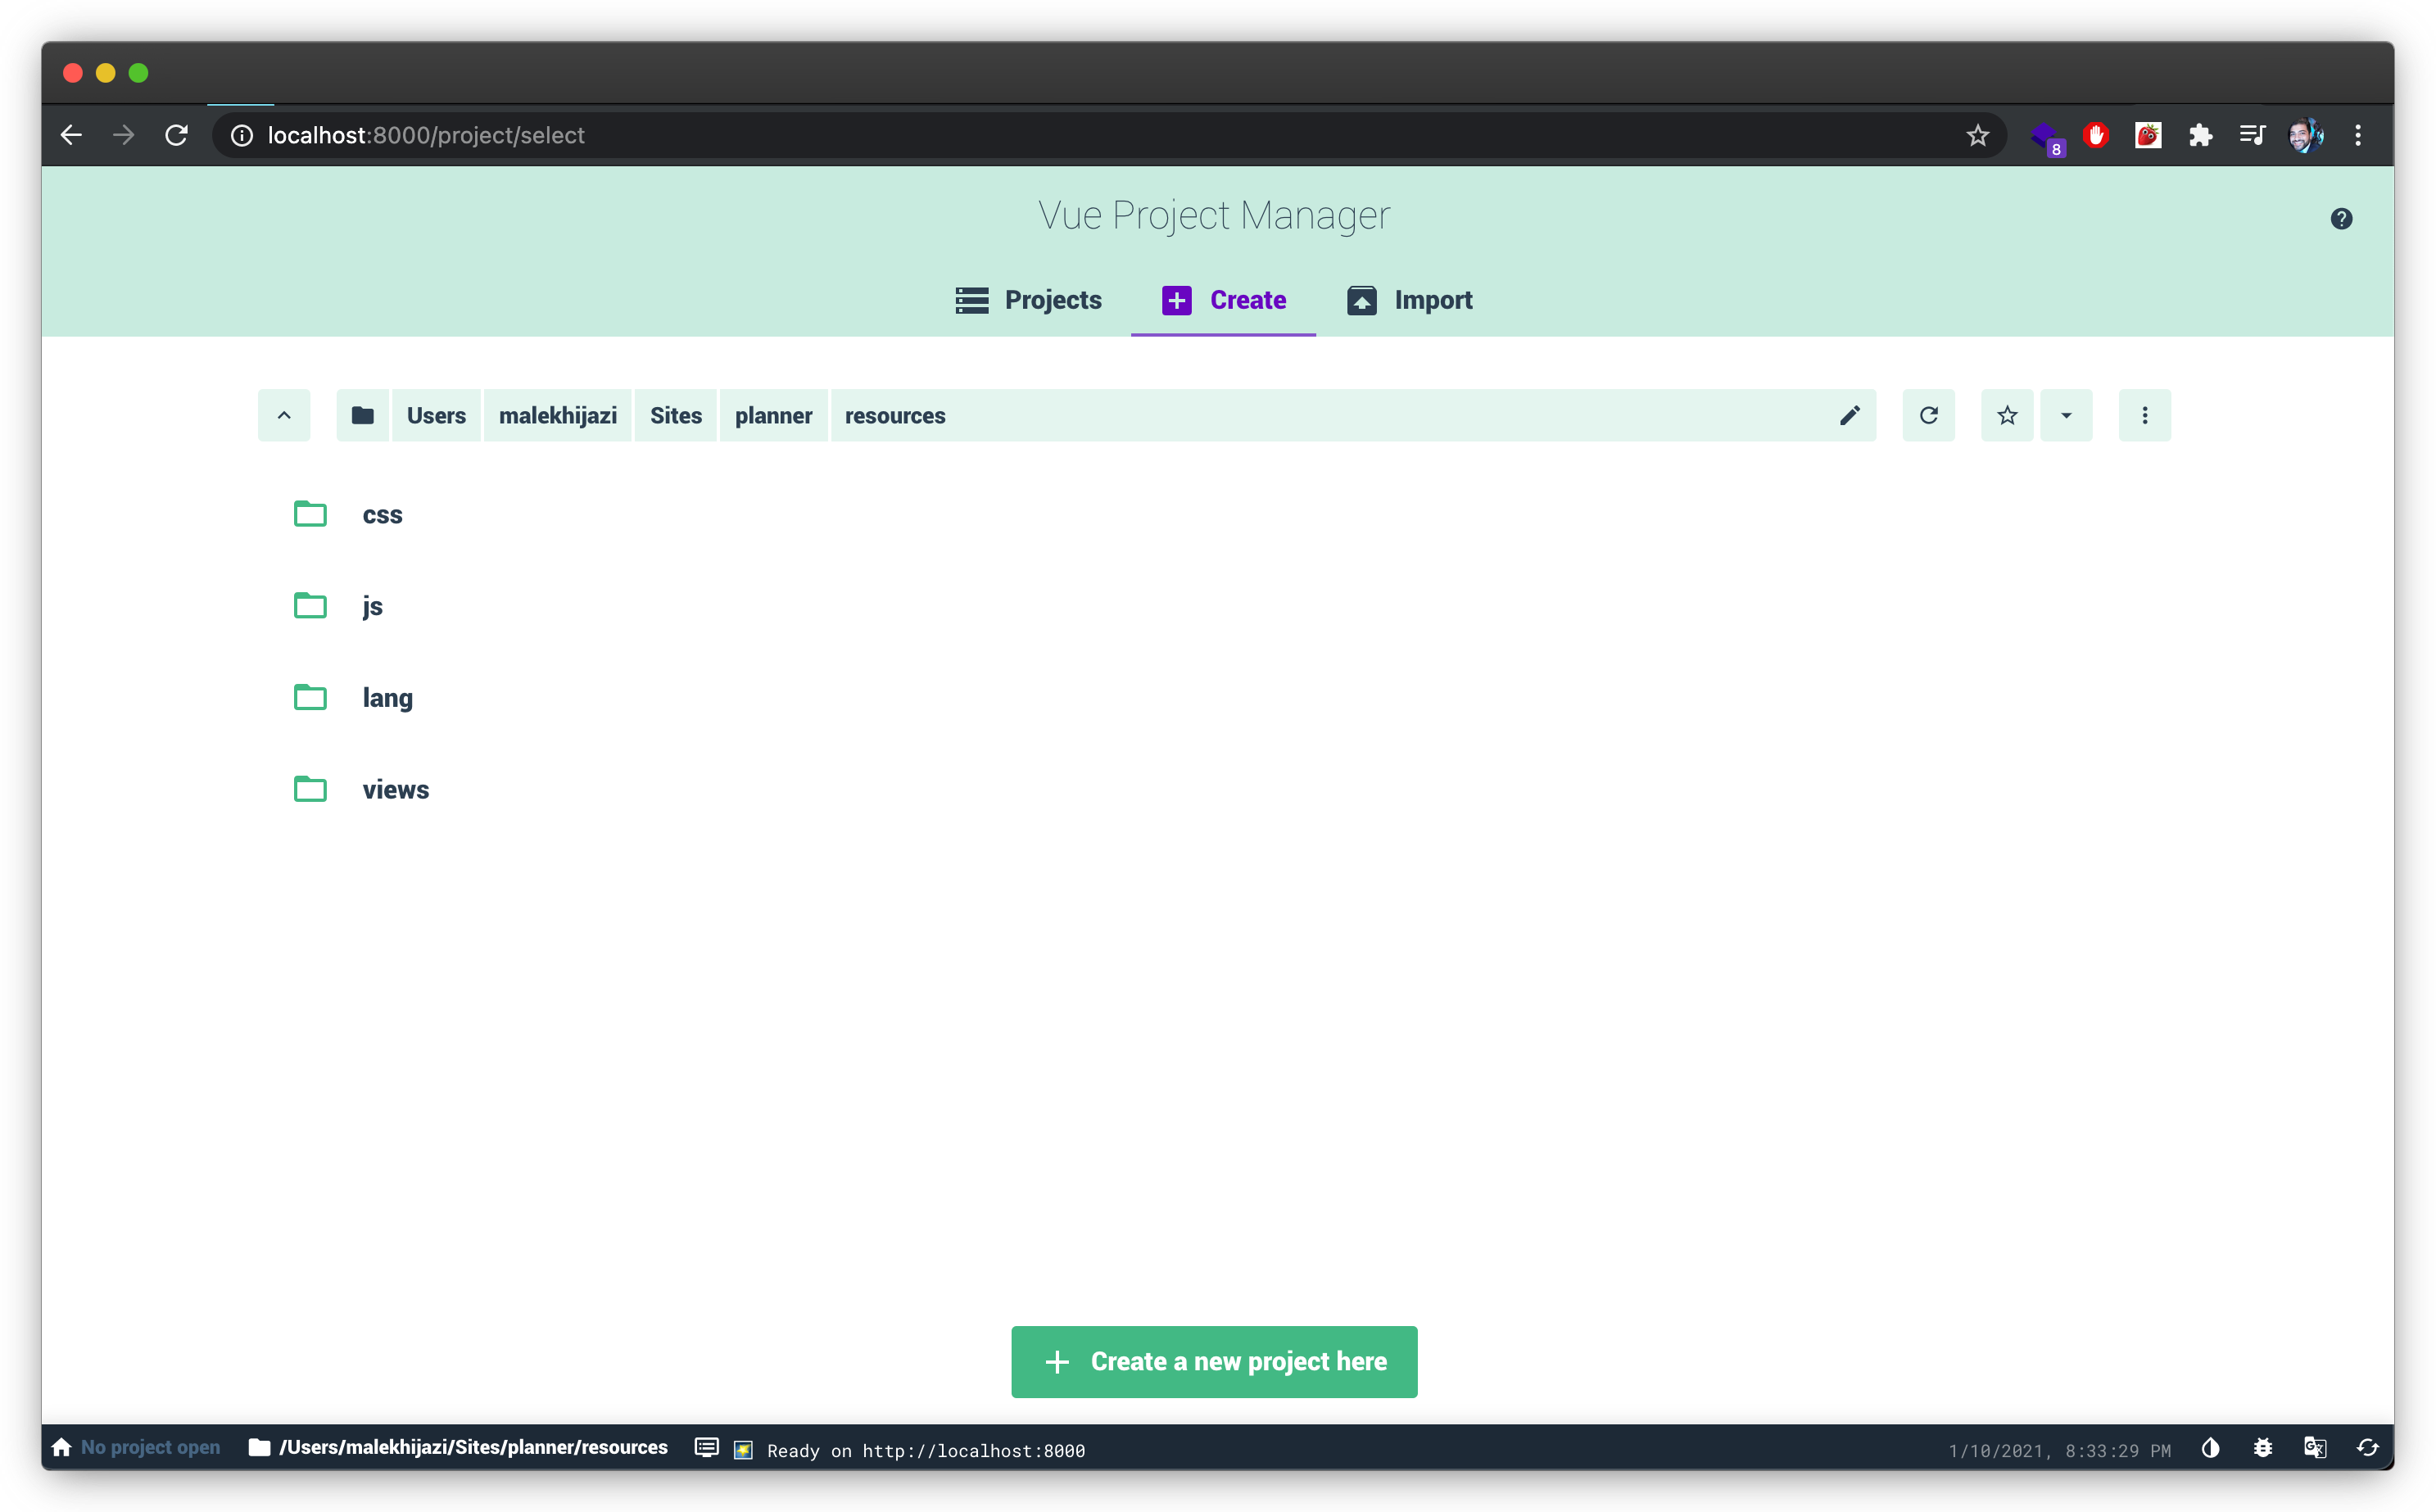
Then click on create project.
You will then be asked to fill in some information like the folder name and package manager. I use npm as a package manager but you can select whatever option you prefer. The folder name should be the Vue app name. For example:
- You might have a frontend interface and a backend interface so you can create 2 projects one called
frontendand onebackend. This will be useful when you want different configurations for each app. - You might have multiple modules. So each module can have its own project. This will be useful when you want different configurations for each module.
I will be setting the folder name as
appin the following post
After going through the features tab, select what features you want installed by default (vuex, vue-router, unit testing ...)
This is my current configuration:

Vue-Router: is for routing pages using vue Vuex: is for state management. I'll be writing a post about this soon. E2E Testing: I use Cypress (new to it actually) its an automated UI testing library.
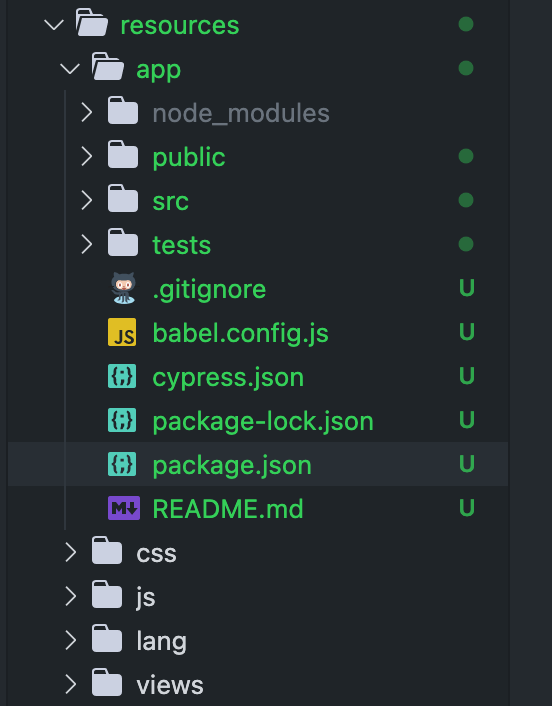
After setting up and creating the project you will see the following folder structure.
Vue ui can also be used to manage plugins and manage package manager tasks. Take some time and play around with it.
To run your newly created project you have 2 ways:
1- cd into project-directory/resources/app/ and run npm run serve
2- modify the project-directory/package.json script to add the following script
"serve:app": "cd resources/app && npm run serve"
After that run the command (based on which method you went with)
npm run serve:app
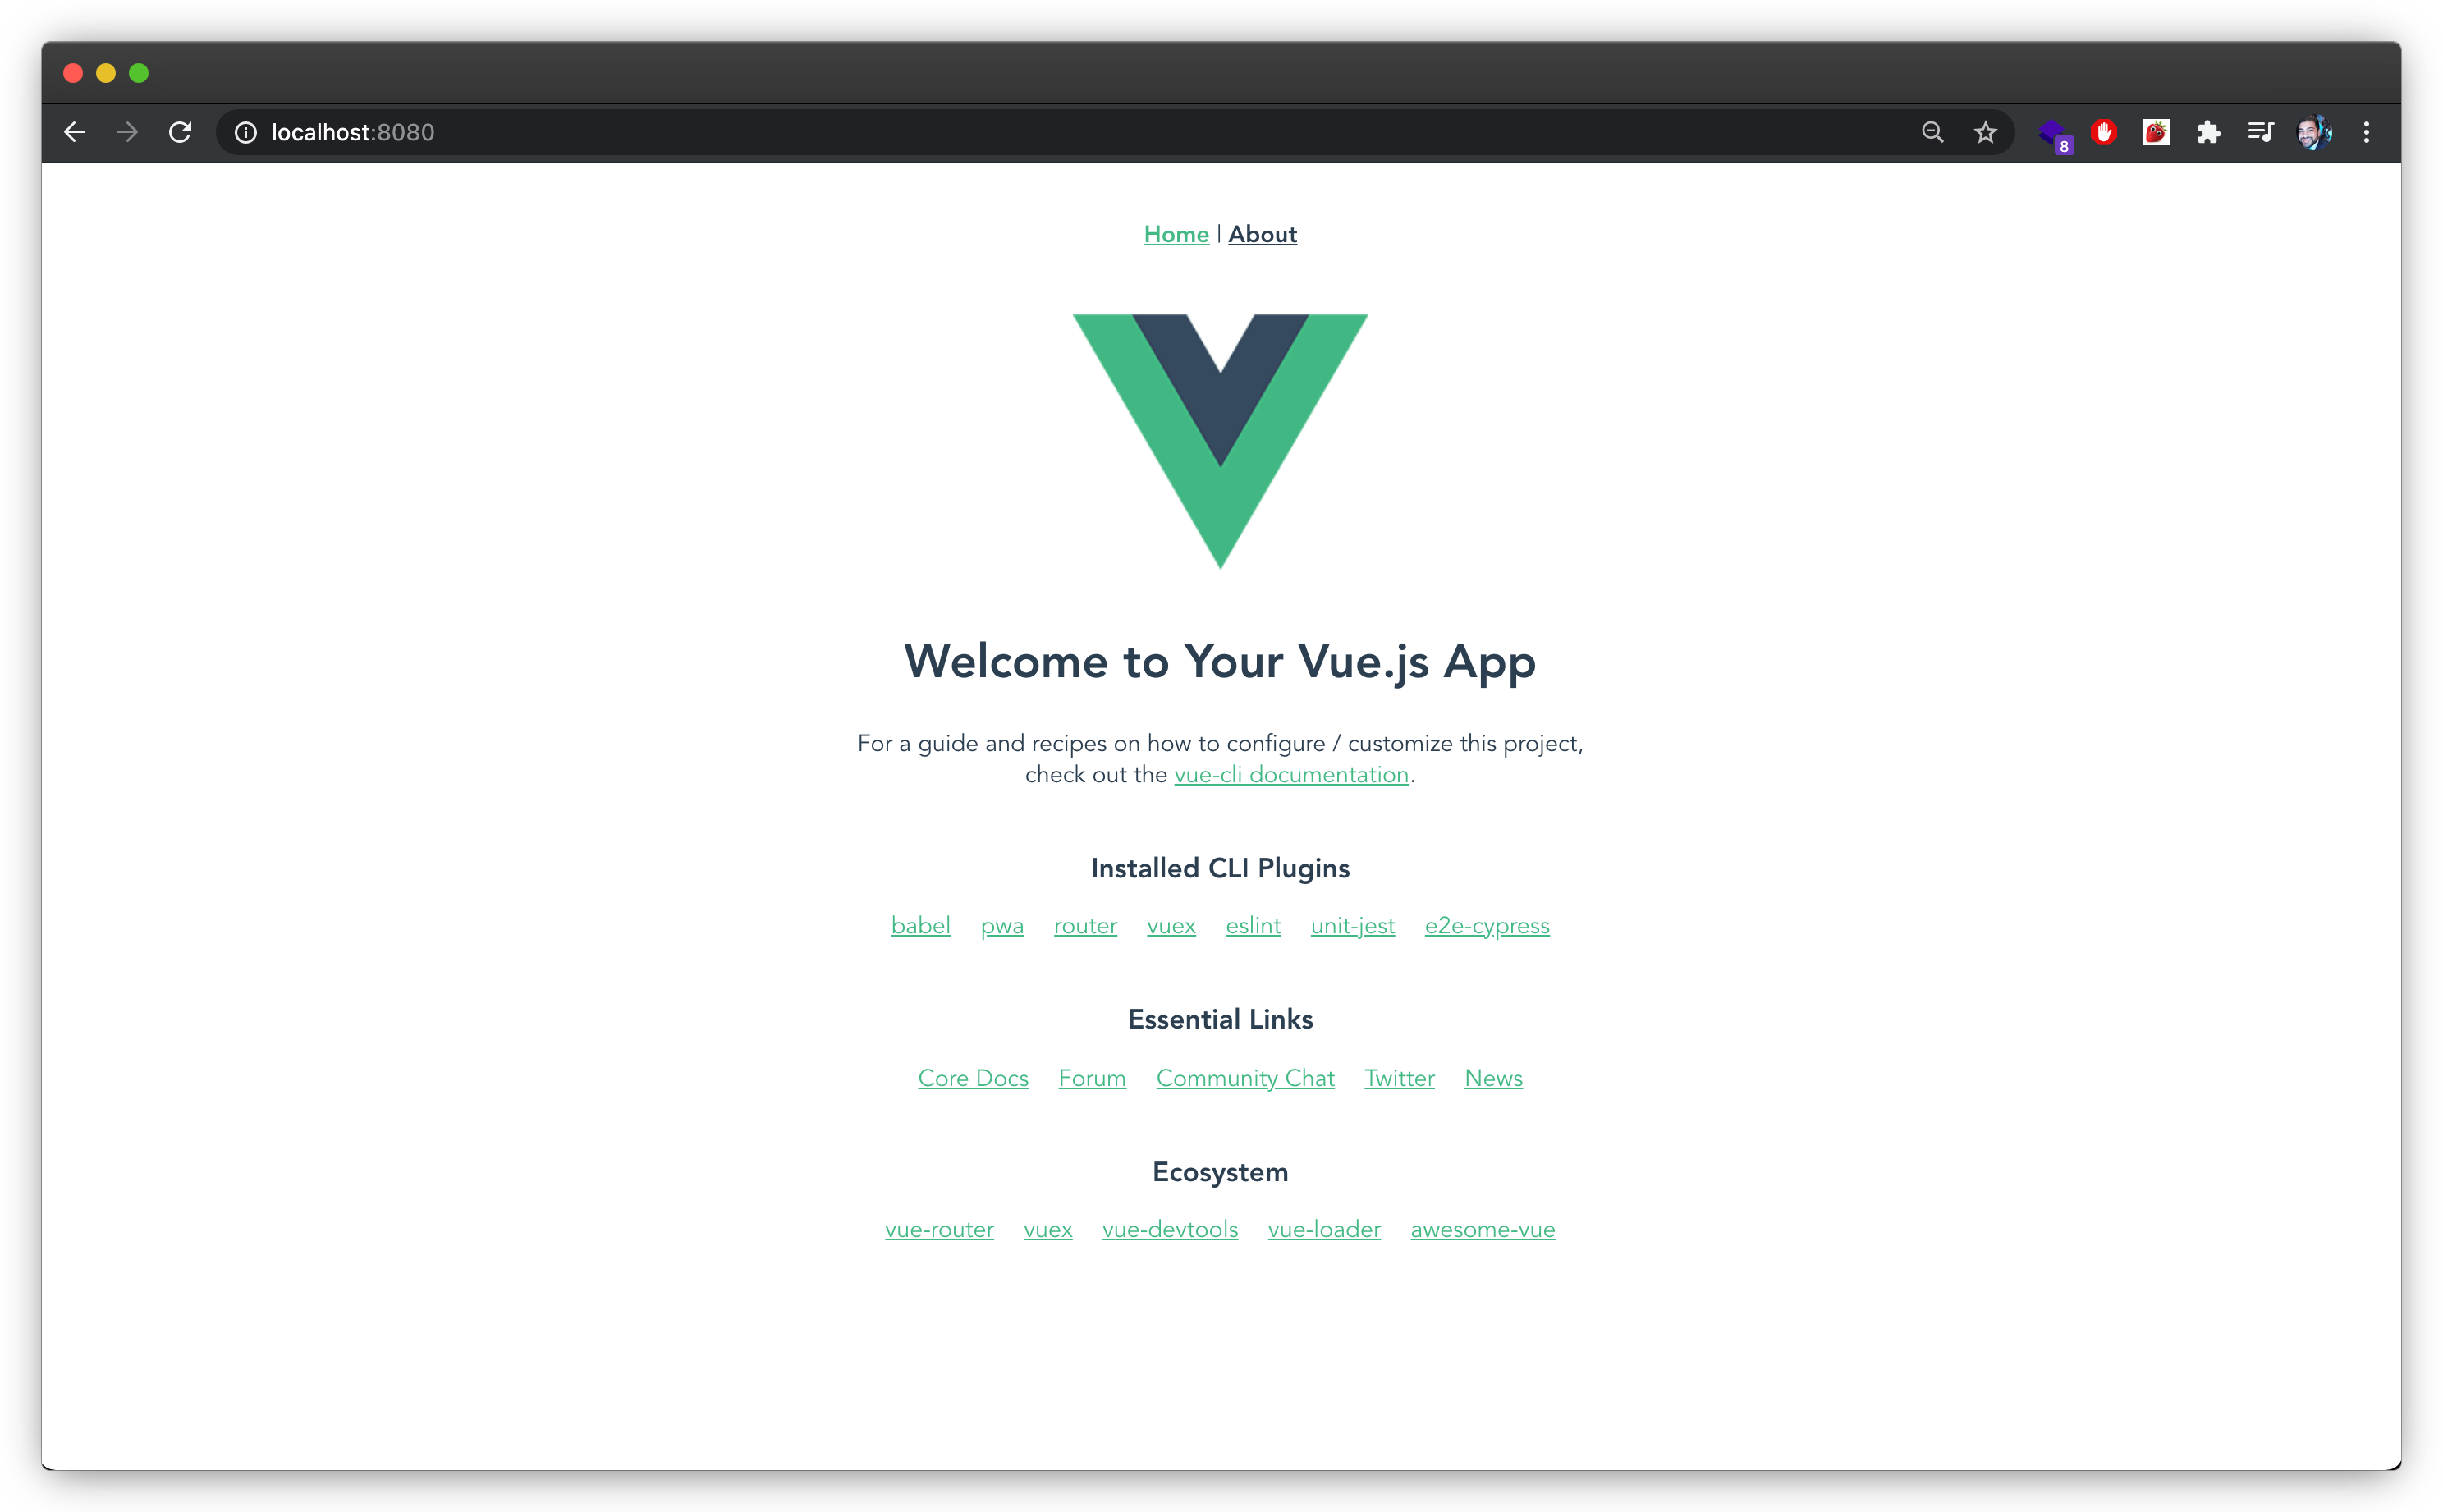
If all is successful you will see the serve url in the terminal an that url will give the following:
Tailwind CSS Installation
Since we have Vue ui installed. We can install the Tailwind css pluging using the plugins section. Head over to the plugins section and click on add plugin button on the top right. Search for tailwind and you will see the plugin in the search results

Click on it and then go through the installation process. You will be asked for the default config file. Choosing on full will generate a file that has all the options which is very big. So if you are new to Tailwind css its better to choose the minimal config file.
When you're done you will have a tailwind.config.js file in the main directory of your Vue app.
You can test if the Tailwind css installation is successful by heading over to their Components page and copy the code for a component. Then replace the content of Home.vue with the code you just copied. Then check the browser and you should see the component ready.
If you've added linting to your project you might face some issues. Add this configuration object for the eslintConfig object and this will disable some linting checks (but then the linting will be useless:p).
"rules": {
    "no-console": "off",
    "no-unused-expressions": "off",
    "no-unused-vars": "off",
    "vue/no-unused-components": "off"
}


