Setting up projects & SDKs for Sentry self-hosted

Entrepreneurial Developer
This blog is the 5th post in the Sentry self-hosted series. In this article, we will be going through the process of creating a project with Sentry to track and monitor performance and errors. This post will assume you already went over the previous posts in the series to set up Sentry.
Creating a project
The first thing you need to do is create a project on sentry. To do that head to your Sentry self-hosted domain and click on the projects in the side menu: 
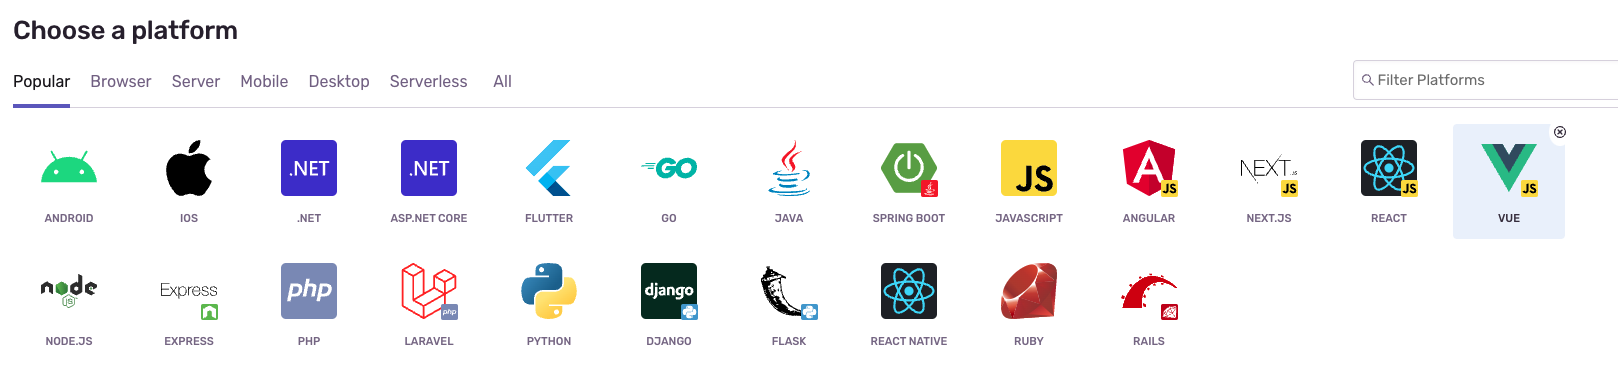
Choose the needed SDK from the list of platforms
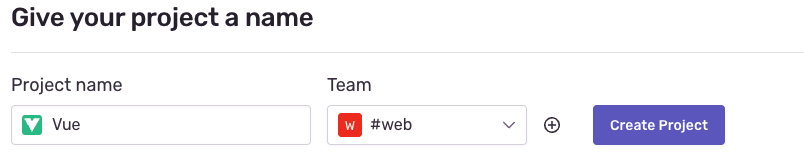
Add a project name and select the team (you can also create a new team)
Click on create project.
After creating, it will redirect you to a setup page where they have a tutorial on how to set it up. Follow the instructions and you should be good to go
I will setup Vue.js as an example, others should be similar (but platform specific):
Example Vue Configuration
Installing dependency
# Using yarn
yarn add @sentry/vue @sentry/tracing

# Using npm
npm install --save @sentry/vue @sentry/tracing
Configuration
For Vue 2
import Vue from "vue";
import Router from "vue-router";
import * as Sentry from "@sentry/vue";
import { BrowserTracing } from "@sentry/tracing";

Vue.use(Router);

const router = new Router({
  // ...
});

Sentry.init({
  Vue,
  dsn: "dsn_to_your_instance",
  integrations: [
    new BrowserTracing({
      routingInstrumentation: Sentry.vueRouterInstrumentation(router),
      tracingOrigins: ["localhost", "my-site-url.com", /^\//],
    }),
  ],
  // Set tracesSampleRate to 1.0 to capture 100%
  // of transactions for performance monitoring.
  // We recommend adjusting this value in production
  tracesSampleRate: 1.0,
});

// ...

new Vue({
  router,
  render: h => h(App),
}).$mount("#app");
For Vue 3
import { createApp } from "vue";
import { createRouter } from "vue-router";
import * as Sentry from "@sentry/vue";
import { BrowserTracing } from "@sentry/tracing";

const app = createApp({
  // ...
});
const router = createRouter({
  // ...
});

Sentry.init({
  app,
  dsn: "dsn_to_your_instance",
  integrations: [
    new BrowserTracing({
      routingInstrumentation: Sentry.vueRouterInstrumentation(router),
      tracingOrigins: ["localhost", "my-site-url.com", /^\//],
    }),
  ],
  // Set tracesSampleRate to 1.0 to capture 100%
  // of transactions for performance monitoring.
  // We recommend adjusting this value in production
  tracesSampleRate: 1.0,
});

app.use(router);
app.mount("#app");
A few things to note that must be changed:
- dsn: can be found in the project settings
- tracingOrigins: the URLs you will be reporting from
- tracesSampleRate: For development purposes you can keep it at 1.0. For production it is better to decrease this to 0.1 (meaning 10% of your user's will report performance analytics)
After changing the above fields, your Sentry SDK should start sending usage analytics back to your Sentry self-hosted instance. (it might take a few mins for data to start appearing).
As usual, if you have any questions don't hesitate to DM me or ask it in the comments.
Good Luck!


