Setting up Sentry self-hosted

Entrepreneurial Developer
Sentry is an open-source full-stack error tracking system which supports a wide range of platforms. Sentry is a paid service that offers a lot of features but it also offers a free plan for developers with limited events and features. The free plan is a good place to start experimenting with Sentry and its features. If you have an enormous amount of projects connected to sentry, the free plan won't be sufficient anymore as it has a limit of 5000 events per month. You can either upgrade to a paid plan or deploy Sentry on your own servers.
Since Sentry is an open-source system, the code is available online to deploy on your own infrastructure. In this post we will be going through the steps to deploy sentry on your own server using DigitalOcean. If you're not familiar with DIgitalOcean, it is an affordable cloud computing provider. You can signup here for 100$ in credit valid for 2 month.
According to the Github repository you will need the following requirements:
- Docker 19.03.6+
- Compose 1.28.0+
- 4 CPU Cores
- 8 GB RAM
- 20 GB Free Disk Space
These are the most optimal server requirements. On digital ocean you can get these requirements for 40$ a month. If this is not in your current budget, use a 20$ server that can do the job but with slower performance (I've personally tried it for a while on a 20$ server, but had to upgrade it later on as our user base and platforms grew)
After creating a server on DigitalOcean (or any other provider you might be using), you will need to connect to the server using SSH.
Installing Docker
Docker is a set of platform as a service products that uses OS-level virtualization to deliver software in packages called containers. The service has both free and premium tiers. The software that hosts the containers is called Docker Engine. It was first started in 2013 and is developed by Docker, Inc.
You can follow the instructions on the DigitalOcean community blog post to install Docker.
Installing Docker Composer
Compose is a tool for defining and running multi-container Docker applications. With Compose, you use a YAML file to configure your application’s services. Then, with a single command, you create and start all the services from your configuration.
You can follow the instructions on the DigitalOcean community blog post to install Docker Compose.
PS: Make sure you replace the version with the newest version found on the Github repository or you will have an outdated version of Docker Compose.
Installing Sentry
To get started with a default installation, we will need to clone the repository.
git clone https://github.com/getsentry/self-hosted sentry
The above will clone the repository into a folder called sentry. You can change the directory name by changing the sentry at the end of the command to the desired directory name. Then cd into the directory you just created and run the below command to start the installation process:
./install.sh
During the installation, a prompt will ask if you want to create a user account. If you require that the install not be blocked by the prompt, run:
./install.sh --skip-user-prompt
This will take a while, grab a cup of coffee in the meantime ^^.
If the installation is successful you should see the following
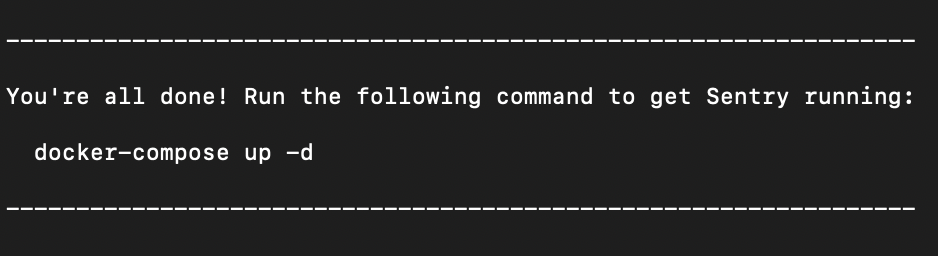
Now run the following command to start sentry:
docker-compose up -d
Once the command finishes you can then open the installation on
http://{server_ip}:9000/
Creating a user
If you used --skip-user-prompt when running the install command, you will need to create a user through the terminal.
sentry createuser
You might run into an error: sentry command not found
Run this command to create an alias for sentry
alias sentry="docker-compose run --rm web"
Rerun the createuser command and it should prompt you for an email, password, confirm password, and superuser confirmation.
Tada! Now you can login to your self-hosted instance of Sentry.io.
In later posts, I will be walking you through the configuration options, configuring SSL, domain name, and integrations.
If you have any questions don't hesitate to ask me in the comments.
Cheers!


